Getting Started with Agent Forge
Prerequisites
Before you begin, ensure:
- Your organization has a Prediction Guard deployment with Agent Forge enabled
- An administrator has access to invite users to Agent Forge
- You have a valid email address for account creation
Step 1: Receiving Your Invitation
Agent Forge uses an invitation-based system to ensure secure access control.
Email Invitation
Your organization’s administrator will send you an invitation email:
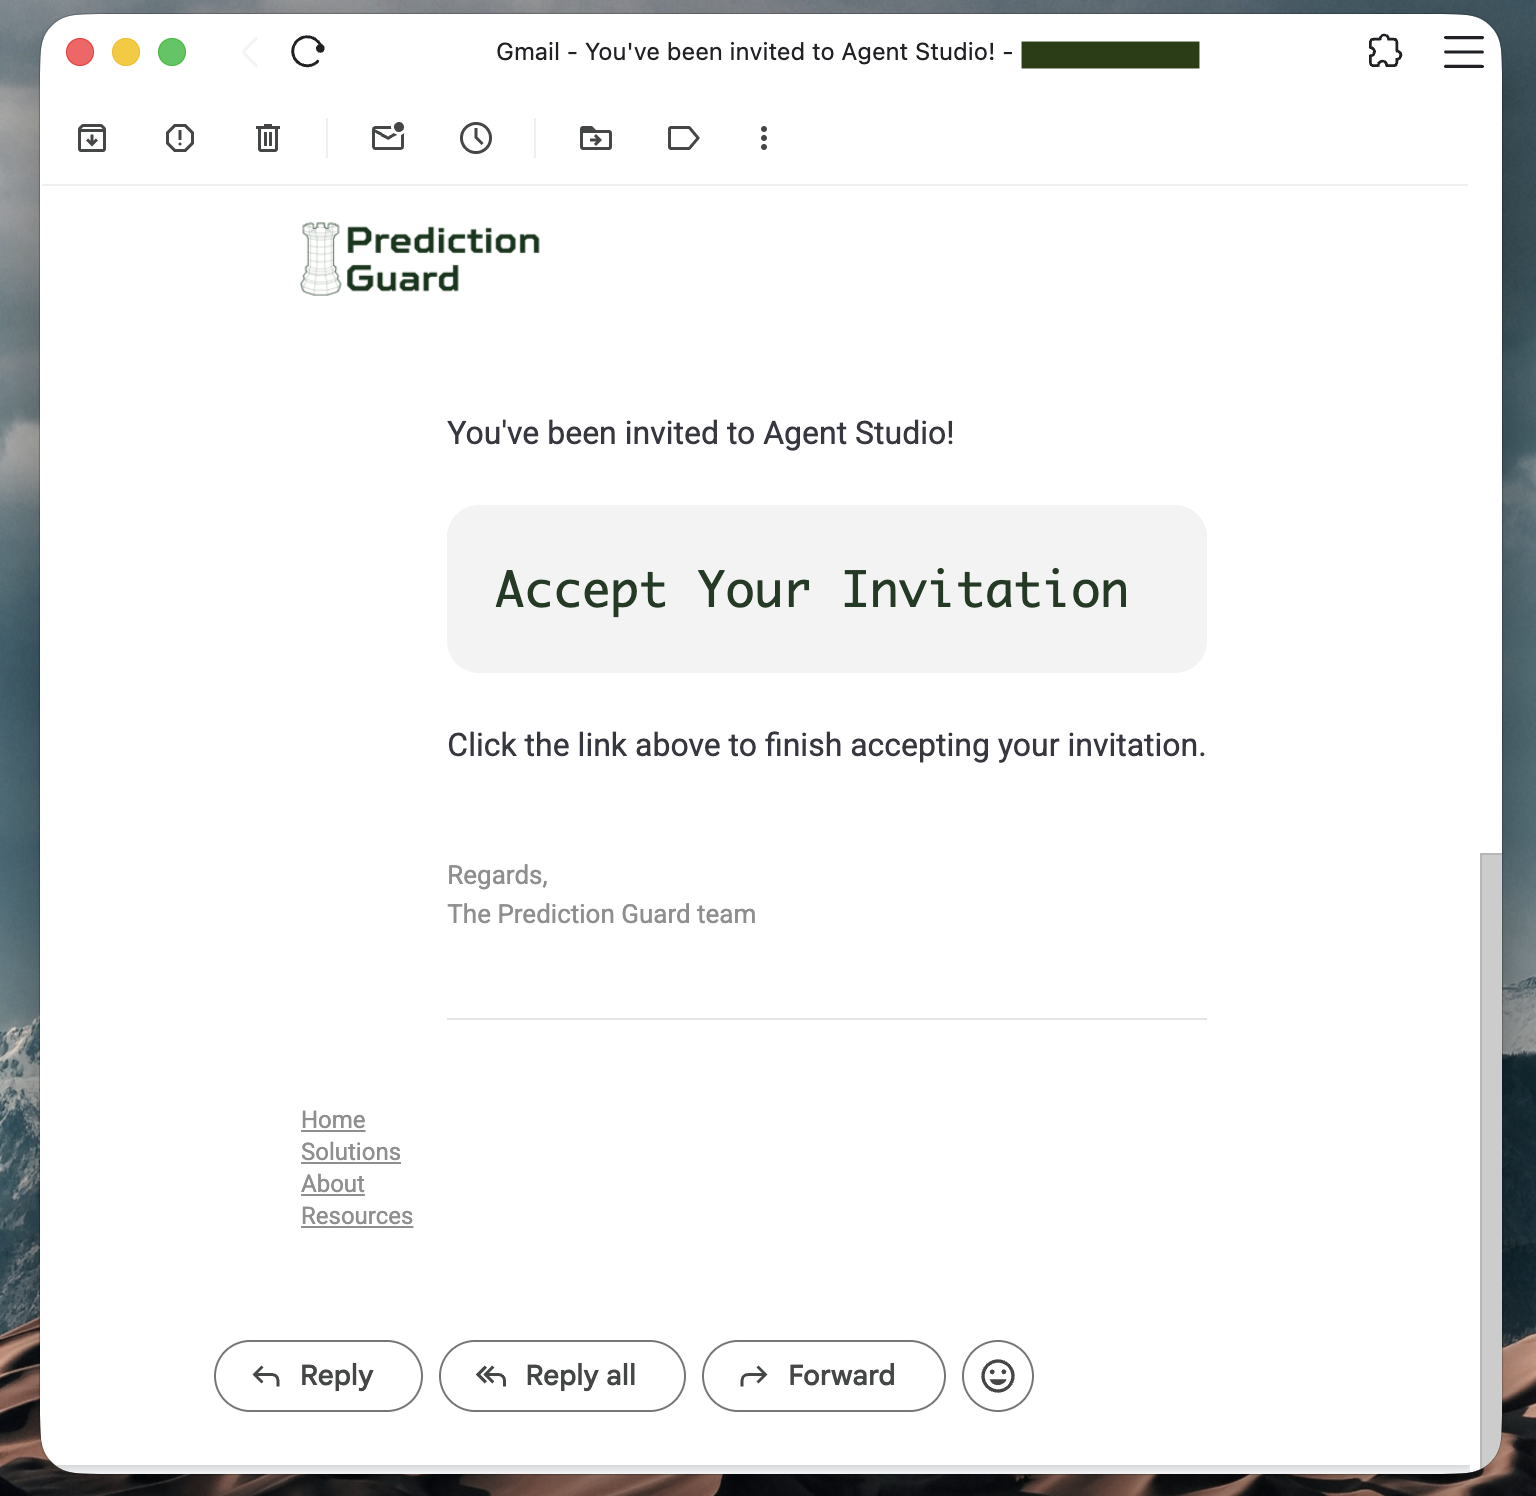
The invitation email contains:
- From: Prediction Guard Team
- Subject: “You’ve been invited to Agent Forge!”
- Content: Welcome message and acceptance link
Accepting the Invitation
- Check your inbox for the invitation email
- Click “Accept Your Invitation” link in the email
- You’ll be redirected to the registration page
User Roles
Your role is assigned by your organization’s administrator at the time of invitation. It determines what you can see and do within Agent Forge.
Step 2: Creating Your Account
After clicking the invitation link, you’ll be directed to the sign-up page.
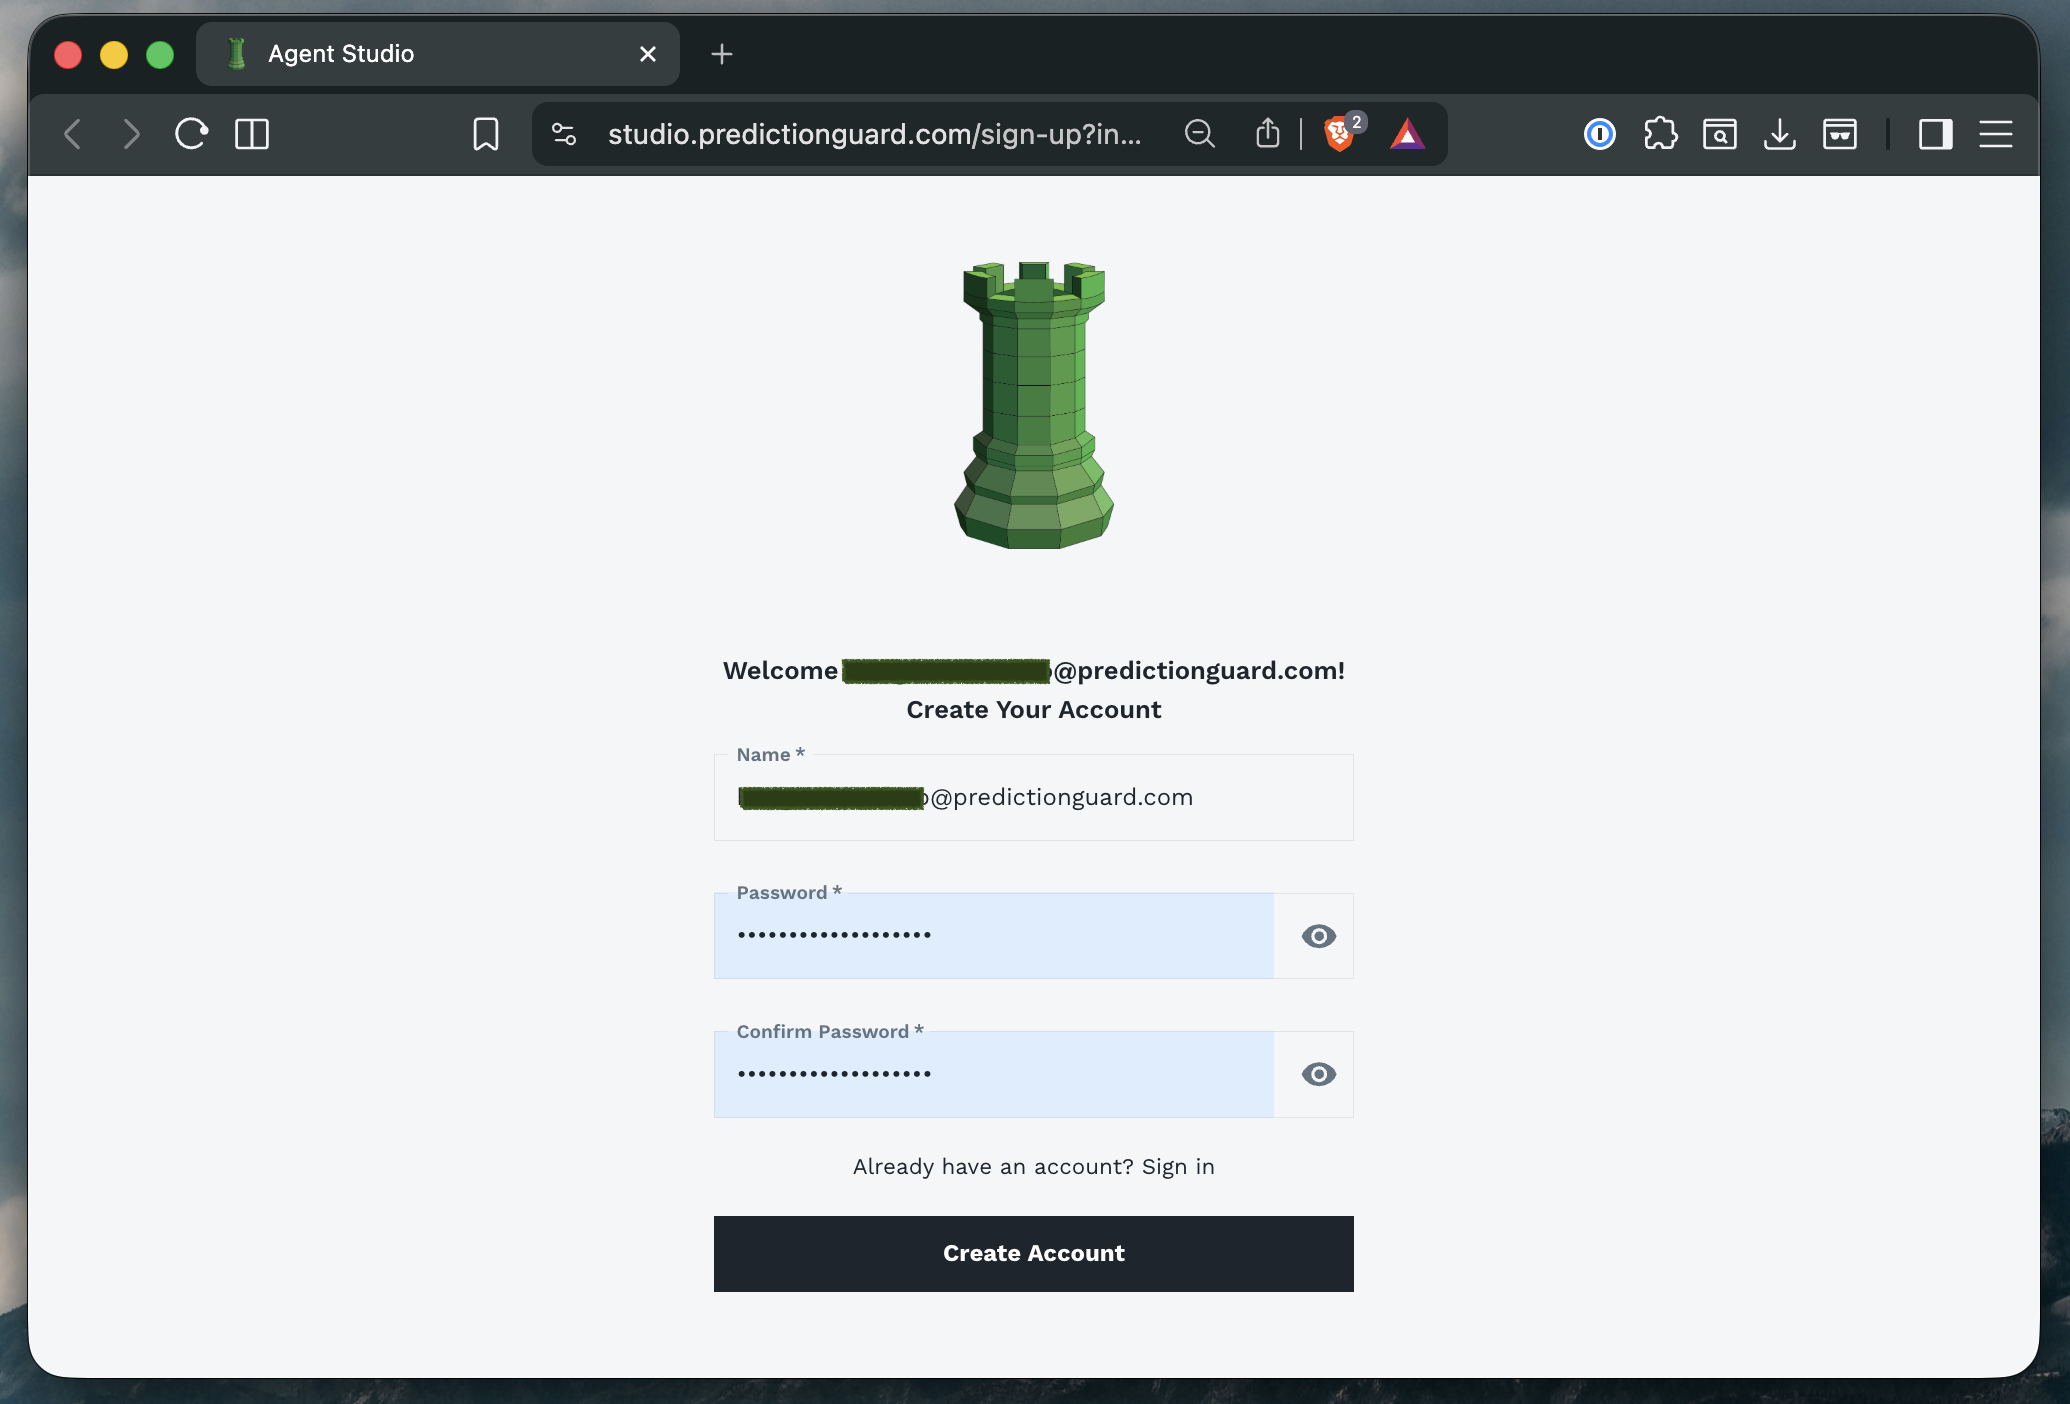
Registration Form
Complete the following fields:
- Name: Your full name (will be visible to other users in your organization)
- Email: Pre-filled from your invitation (typically your work email)
- Password: Create a strong password
- Confirm Password: Re-enter your password to confirm
Completing Registration
- Fill in all required fields (marked with asterisk *)
- Click “Create Account” button
- Wait for account creation confirmation
- You’ll be automatically redirected to the login page
Step 3: Logging In
Access Agent Forge through your organization’s dedicated URL.
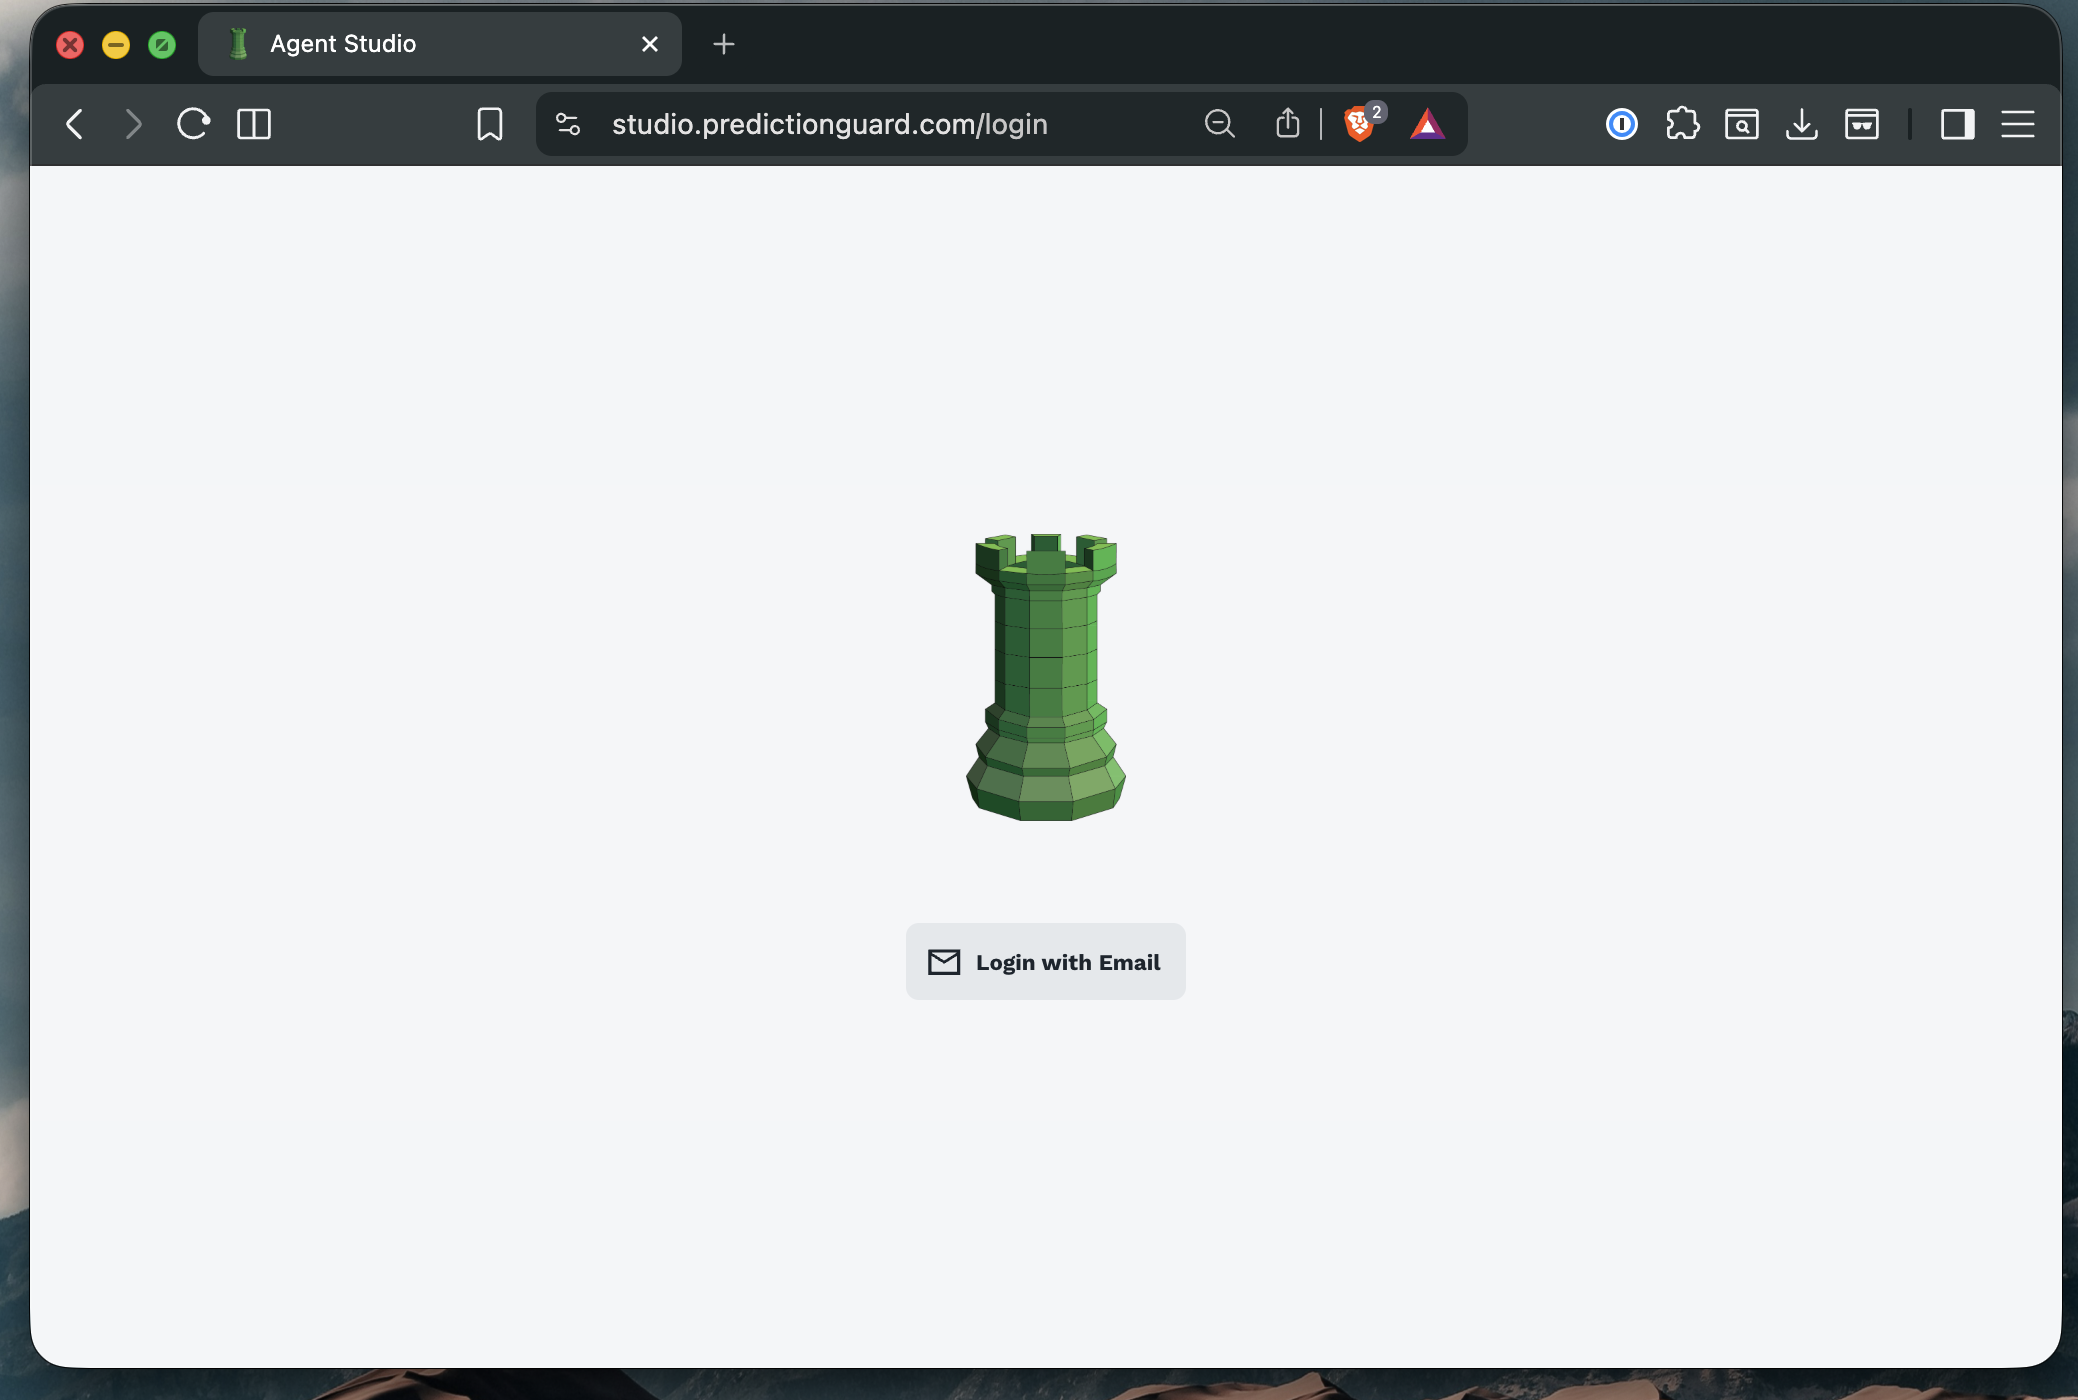
Login Process
- Navigate to
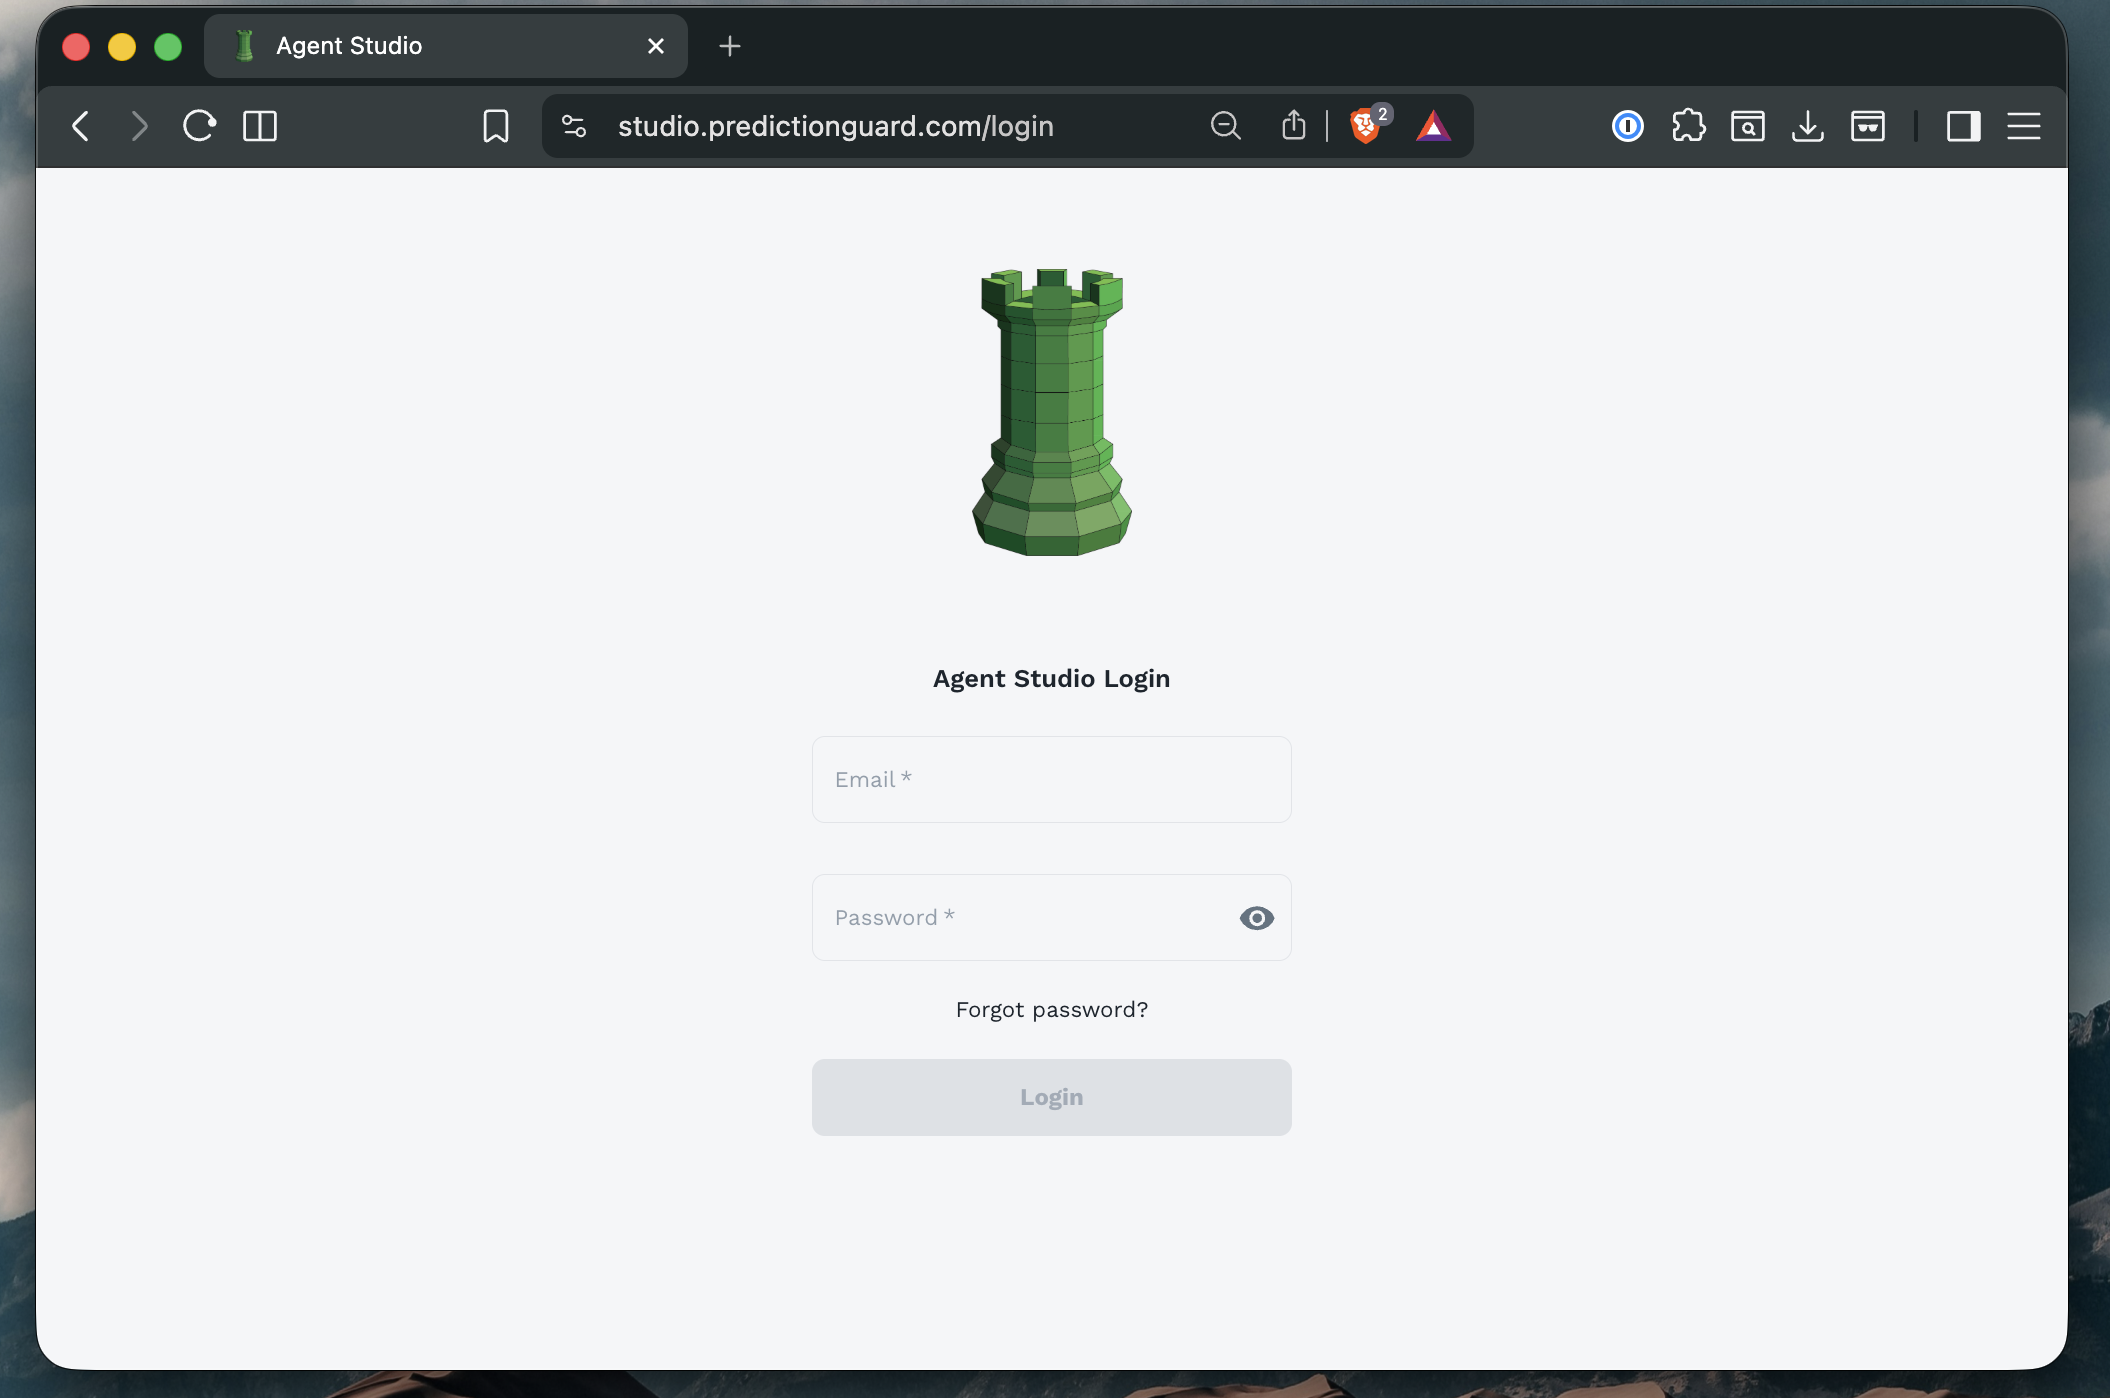
studio.predictionguard.com(or your organization’s custom domain) - Enter your email address (the one used during registration)
- Enter your password
- Click “Log In” or press Enter
First-Time Login
On your first login, you may be prompted to:
- Complete your profile information
- Accept terms of service
- Set up additional security preferences
Step 4: Password Management
Forgot Password
If you forget your password:
- Click “Forgot Password?” on the login page
- Enter your email address
- Check your inbox for password reset instructions
- Click the reset link in the email
- Create a new password
- Confirm your new password
- Log in with your new credentials
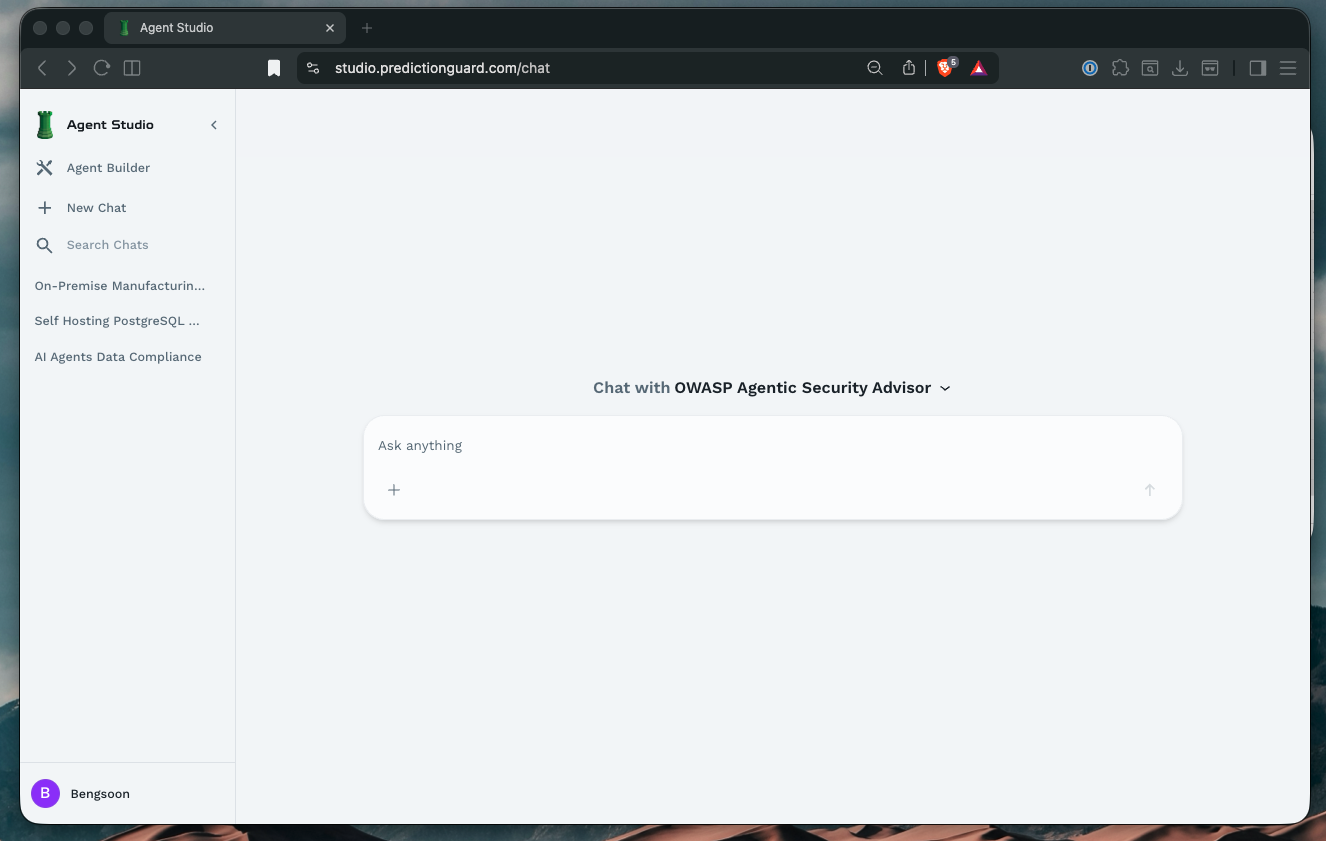
Post-Login: Your First Session
After successfully logging in, you’ll land on the Agent Forge home screen.
What You’ll See
- Sidebar Navigation: Access to Agent Builder, chats, and knowledge bases
- Shared Agents: Agents shared by your organization
- Your Agents: Agents you’ve created (empty initially)
- Chat Interface: Ready to start conversations
Exploring the Interface
The Agent Forge interface consists of several key areas:
Left Sidebar:
- Agent Builder: Create and manage your agents
- New Chat: Start a conversation with an agent
- Search Chats: Find previous conversations
Main Area:
- Agent Selection: Choose which agent to chat with
- Chat Interface: Conversation area
- Agent Cards: Browse available agents
Troubleshooting
Common Issues
Issue: Invitation link has expired
- Solution: Request a new invitation from your administrator.
Issue: Can’t create account
- Solution: Verify your email is correct and matches the invitation. Check password requirements.
Issue: Login fails with correct credentials
- Solution: Try resetting your password. Ensure Caps Lock is off. Clear browser cache and cookies.
Issue: Not seeing any agents
- Solution: Your organization may not have created shared agents yet. Contact your admin or create your own agent.
Next Steps
Now that you’re logged in:
- Explore the Chat Interface - Learn how to interact with agents
- Build Your First Agent - Create a custom agent
- Create a Knowledge Base - Add documents to enhance agent responses
Ready to start chatting? Continue to Chatting with Agents to learn how to interact with AI agents.